2-Minute Quickstart
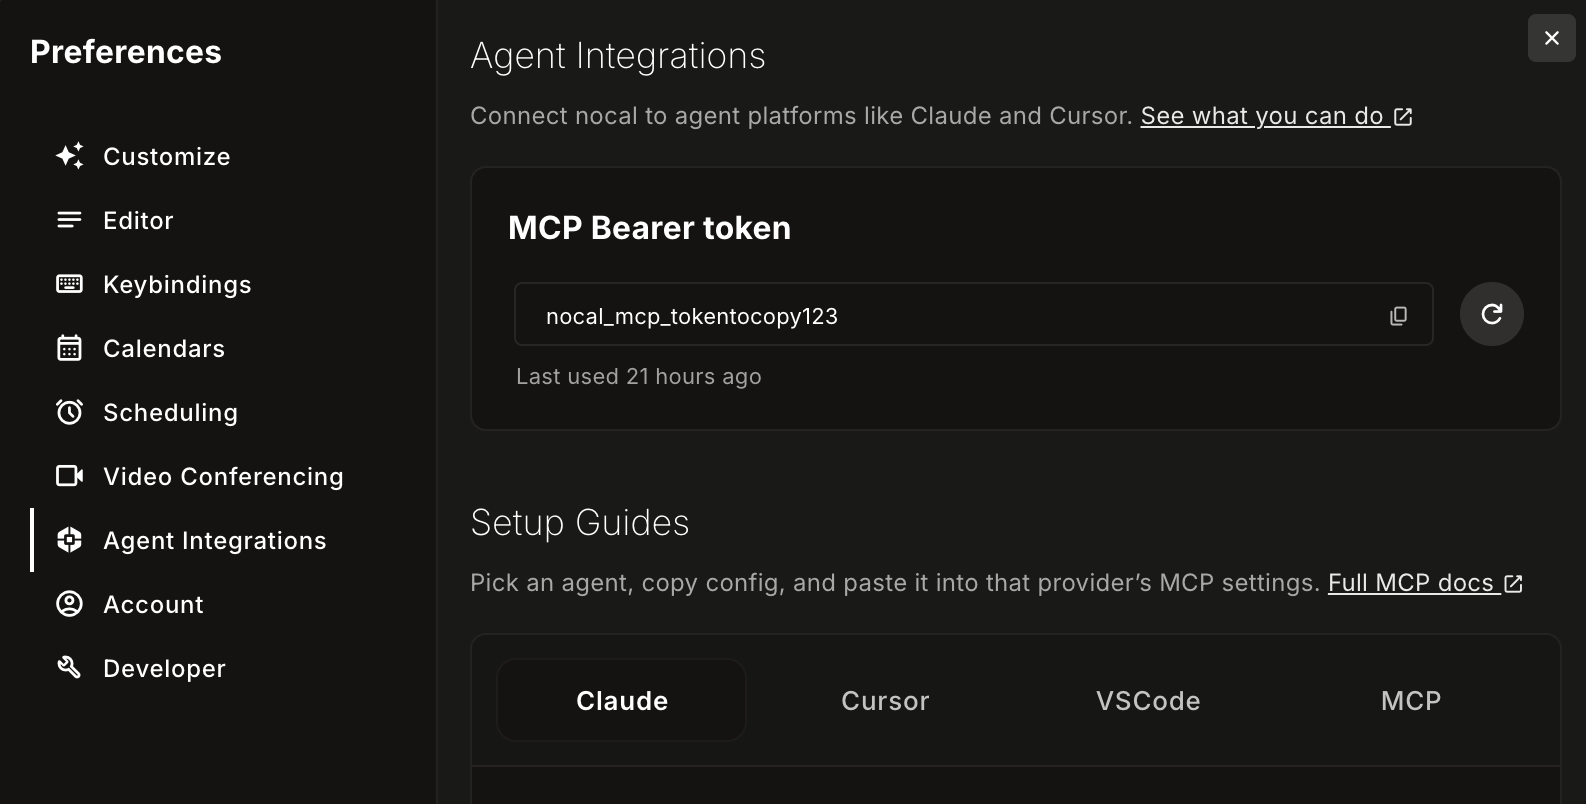
Open nocal and go to Preferences → Agent Integrations to copy the token shown here, then paste it into your client config.
https://api.nocal.app/mcpAuthorization: Bearer YOUR_NOCAL_TOKENFirst confirm the server appears in your client. Then run this outside the client to verify your token and MCP endpoint directly:
curl https://api.nocal.app/mcp \
  -H "Authorization: Bearer YOUR_NOCAL_TOKEN" \
  -H "Content-Type: application/json" \
  -d '{
    "jsonrpc": "2.0",
    "id": 1,
    "method": "tools/list",
    "params": {}
  }'
A valid response will return a JSON object with a result.tools array. If it fails, re-check the token from Preferences → Agent Integrations.
Also setting up calendar accounts? See Google Calendar . For tool details and write semantics, see MCP Server .
Provider Setup
Claude
Where to configure: Claude settings for MCP connectors.
- Open Claude connector settings and add a custom MCP connector.
- Use server URL
https://api.nocal.app/mcp?token=YOUR_NOCAL_TOKEN. - Save and select the nocal connector in chat.
Verify: run a note lookup request and confirm nocal tools are available.
Known gotchas: if connector changes do not apply, restart Claude and try again.
ChatGPT
Where to configure: workspace app/connector settings (developer/custom connector permissions must be enabled).
- Create a new custom connector and choose MCP server.
- Set endpoint to
https://api.nocal.app/mcp. - Set auth to Bearer and provide your nocal MCP token.
- Save and select the connector in your chat.
Verify: run a simple tool request like note search.
Known gotchas: missing workspace permissions can hide connector options.
Cursor
Where to configure: project .cursor/mcp.json or global ~/.cursor/mcp.json.
{
  "mcpServers": {
    "nocal": {
      "url": "https://api.nocal.app/mcp",
      "headers": {
        "Authorization": "Bearer ${env:NOCAL_TOKEN}"
      }
    }
  }
}
Verify: reopen chat and confirm nocal tools are listed.
Known gotchas: missing env vars or stale app session after config edits.
VS Code
Where to configure: use the Command Palette flow or edit mcp.json directly.
- Run
MCP: Add Serverfrom the Command Palette. - Choose whether to add the server to your
WorkspaceorUserconfiguration. - If you prefer to edit manually, use
MCP: Open Workspace Folder ConfigurationorMCP: Open User Configuration. - Add the nocal server to
mcp.json.
{
  "servers": {
    "nocal": {
      "type": "http",
      "url": "https://api.nocal.app/mcp",
      "headers": {
        "Authorization": "Bearer ${env:NOCAL_TOKEN}"
      }
    }
  }
}
Avoid hardcoding secrets in the file. Use environment variables or input-based secret handling instead.
Verify: run MCP: List Servers, confirm nocal is available, and approve trust if VS Code prompts for it.
Known gotchas: if the server does not start, check trust state, inspect output logs from MCP: List Servers, and restart VS Code if needed.
Other MCP-Compatible Clients
If your client expects stdio servers, bridge to nocal's HTTP endpoint with mcp-remote.
{
  "mcpServers": {
    "nocal": {
      "command": "npx",
      "args": [
        "-y",
        "mcp-remote",
        "https://api.nocal.app/mcp",
        "--transport",
        "http-only",
        "--header",
        "Authorization: Bearer ${NOCAL_TOKEN}"
      ],
      "env": {
        "NOCAL_TOKEN": "YOUR_NOCAL_TOKEN"
      }
    }
  }
}